One of the quickest ways to create new Pin designs is to create Pinterest templates that you can use again and again.
Cos Pinterest loves fresh content and is prioritising fresh pins (remember a FRESH pin is a new combination of IMAGE + URL) .
So it's now even more important to create new pins quickly.
It doesn't mean that you can't use older pins, some still do great. But creating new pins for older posts is now a key Pinterest strategy for most bloggers and online businesses.
So, do you want to learn how to create 20 different Pinterest templates in minutes?
More...
[Disclaimer: Some links in this post contain affiliate links. This means I get a commission if you purchase the product through my link at no extra cost to you. As an Amazon Affiliate I earn from qualifying purchases.]
3 PINTEREST DESIGN TIPS
Before I go any further, if you're really struggling to design good looking pins and need to have professional-looking designs without paying a designer every month, check out my friend Kimi's course: Designing with Typography.
It will help you create pins that will look great and will stand out in the Pinterest smartfeed.
If the course is not for you, though, here are 4 easy tips you can follow:
1. Keep it simple
Stick to simple designs. The more things you put into a pin design, the more chances you have of making mistakes.
2. use your branding
Always use your brand colours and include a logo or a url to your website, so people start to recognise your pins.
3. Use Pinterest for inspiration
If you're not a very creative person, it can be hard to come up with your own Pin designs. So go to #Pinterest and look at pins in your own niche. #Pinteresttips #socialmediatips
Do you see anything you like?
Pin them to a Secret Board, you can call it Pinterest Inspiration or whatever you want.
Or use designs already in your design program, like I am going to show you further down.
4. use the right images
If you're in a niche where you can use your own photos, do so. People engage more with images that 'look real'.
If you can't, consider paying for Stock Photos.
Why I think Stock Photos are great
I was a bit sceptical about getting stock photos at the beginning because there are plenty of free places to get free images.
But I also got fed up spending lots of time looking for a specific thing that worked for me and then having to use images I'd seen again and again.
So I tried IvoryMix Stock Photos and found out it's not only a lot easier (and faster) to get the right photos for what you want but it also makes your image creation process much quicker.
how to create your own pinterest templates
I usually use Stencil to create my templates.
I love Stencil because I can create pins very quickly, it's very easy to use and I have access to thousands of icons and photos already there. Here's a post showing you how it helps me create social media graphics.
But I also use the FREE version of Canva because I get social media templates with my Photo Stock Membership and it's easy for me to modify them and then I have more and more templates I can use.
I must say, they don't always work for my style but I can easily adapt most of the designs.
Anyway, time to create your own Pinterest templates from scratch in minutes.
Here's how to do it:
Create your pinterest templates
in 7 steps
Go to your Canva account and click on [Create a Design]
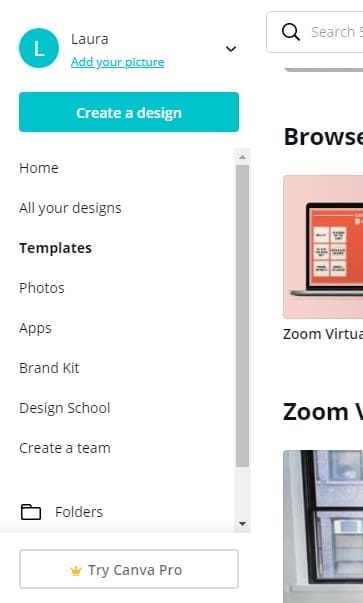
Then you click on Pinterest pin and you get a blank canvas.
Find a template you like and click on it
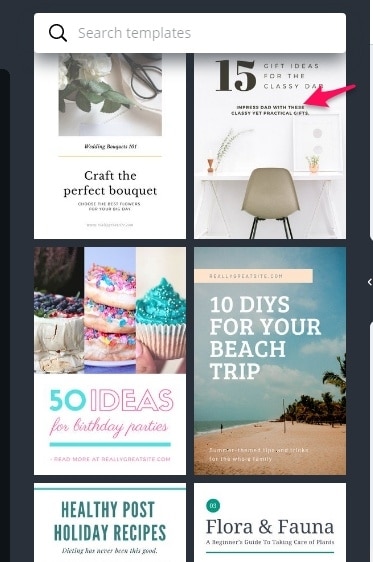
I chose some quickly basically for demonstration purposes, but you can do a search for specific pins.
Click on the Add Page Button to add another pin
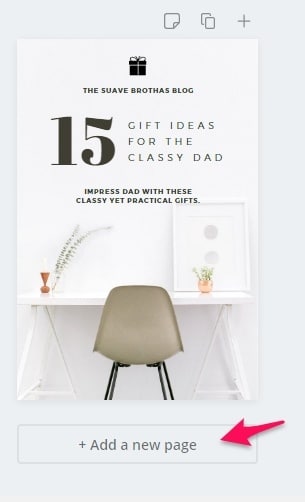
Find a different template and click on it
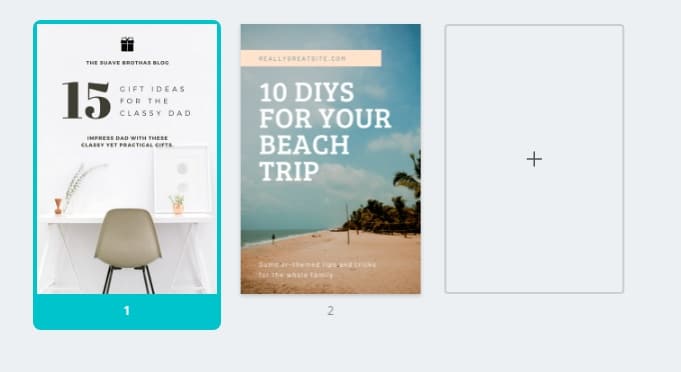
Now you have to different designs.
keep doing the same until you have
10 pins you like
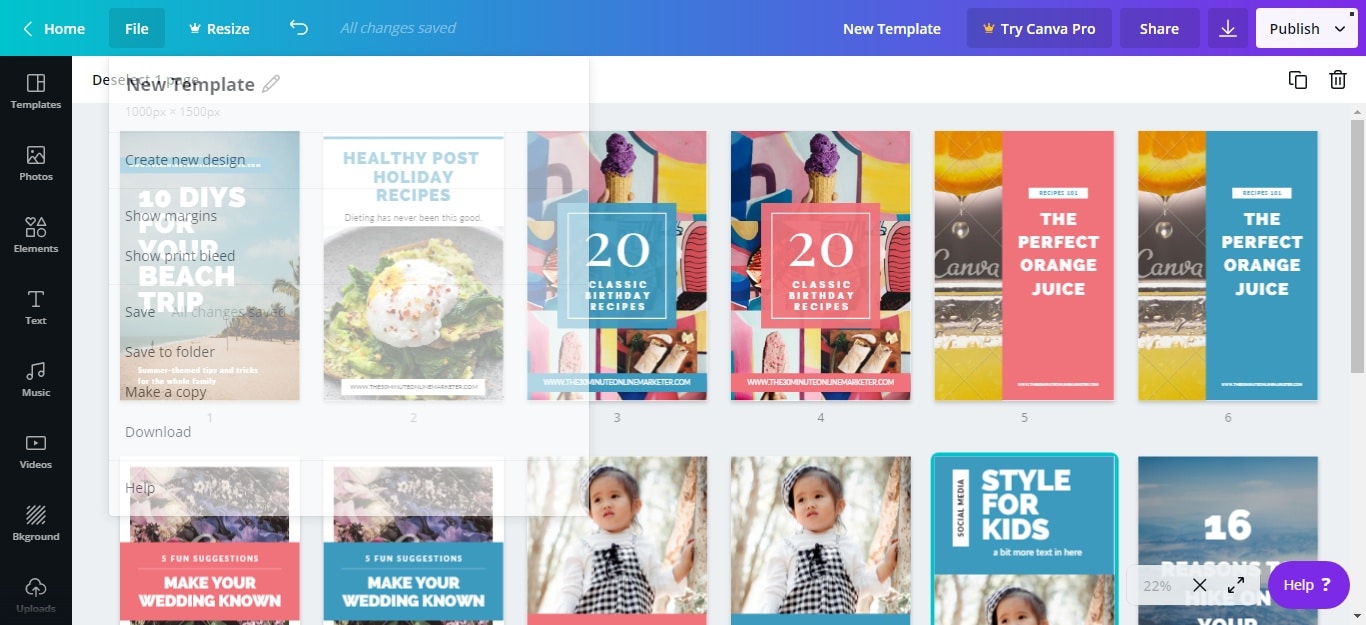
Then customise each pin design to match your brand.
You're going to have to do this manually page by page.
Change the following for each pin
- Colours to match your brand
- Fonts
- URL, if there's no space, add it
- Logo, if there's no space add it but you don't have to have both logo and URL, OK?
If you are using the FREE version you might not be able to get all your fonts, that's OK. Choose one that looks similar if you can.
You might also have to add the odd block of colour, change sizes and all that, but it takes a few seconds per pin design to do it.
For example, here are 2 pins I changed.
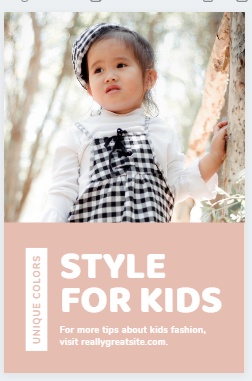
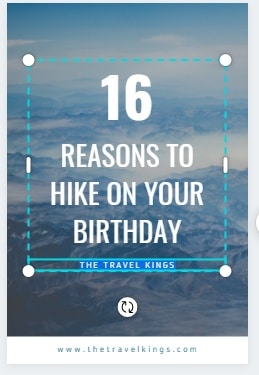
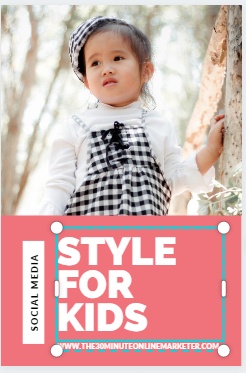

Don't worry about the text and the images, you'll be changing them anyway when you create your new pins.
Last step is to duplicate some of the pins and change the colour
You can also copy a pin and flip or move things around.
So you'll now have at least 20 instead of the 10 you started with.
I did this with mine and change to my other main colour.

What to do when you have your templates
Once your Pinterest templates are ready, you can create your new pins, also in minutes.
All you need to do is have your text ready (several versions will help) and make sure you've uploaded your images.
So:
- Make a copy of the template,
- Rename it with your new blog post title, and
- Start changing the text and images.
Bear in mind that you might not be able o use all of these Pinterest templates for every blog post you create.
The text might not fit in the design, the image you've chosen might not work with that layout or perhaps you don't have a listicle post and that particular design has a big number in it.
That's why I am only using some of the templates to create my pins.
But, as you can see, changing the photo, cropping it or moving it around means I get more pins to share.
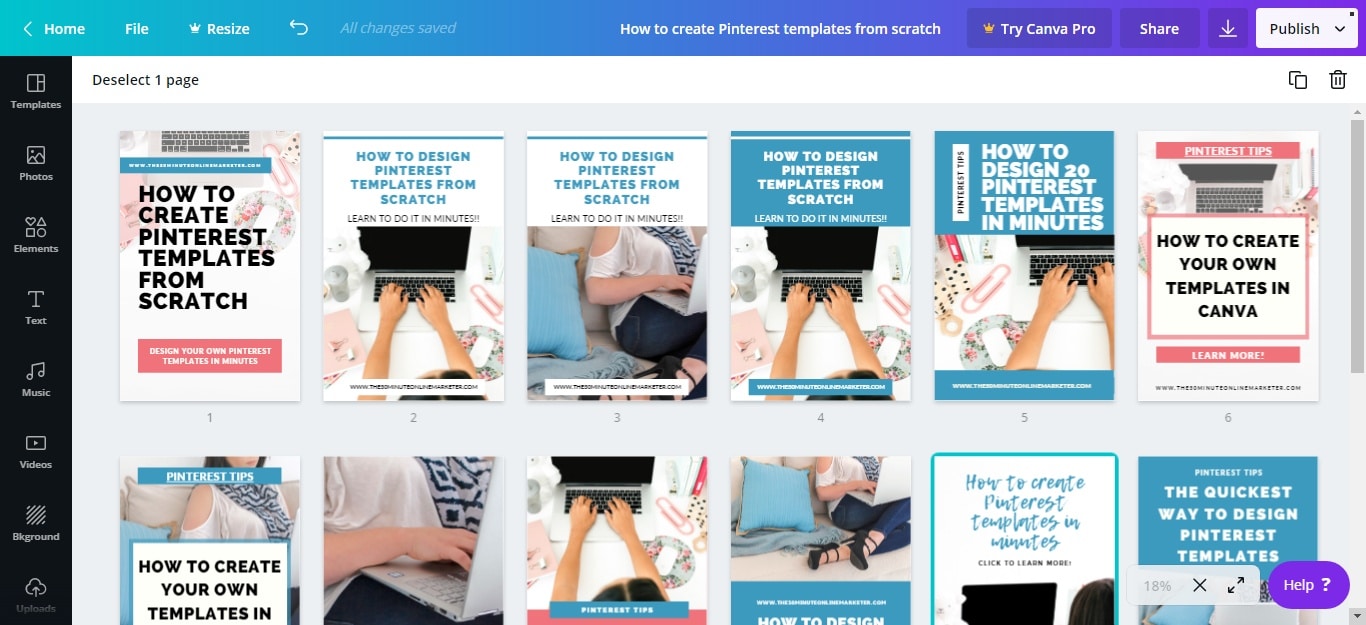
Tip: Create templates for How-to Posts, for listicles, etc. So it's easier for you to get organised and choose the right templates for each post.
One thing these templates don't do
A couple of things I've learnt from my blogger friend Kimi, though, is that it is important to learn how to highlight the right words so people focus on them.
You do this by using elements, colours and also in the way you use your fonts. Check out her course if you want to learn more.
And none of these templates do this. They look great but, at the end of the day, it's a block of text plus sometimes another little bit of text.
They're great for you to be able to create pins very quickly, which is why I showed you how to do this.
But if you really want them to stand out, you'll need to spend a little bit more time creating your templates, so go to Pinterest, get inspired to create your own templates and/or enrol in Kimi's course to design like a pro.
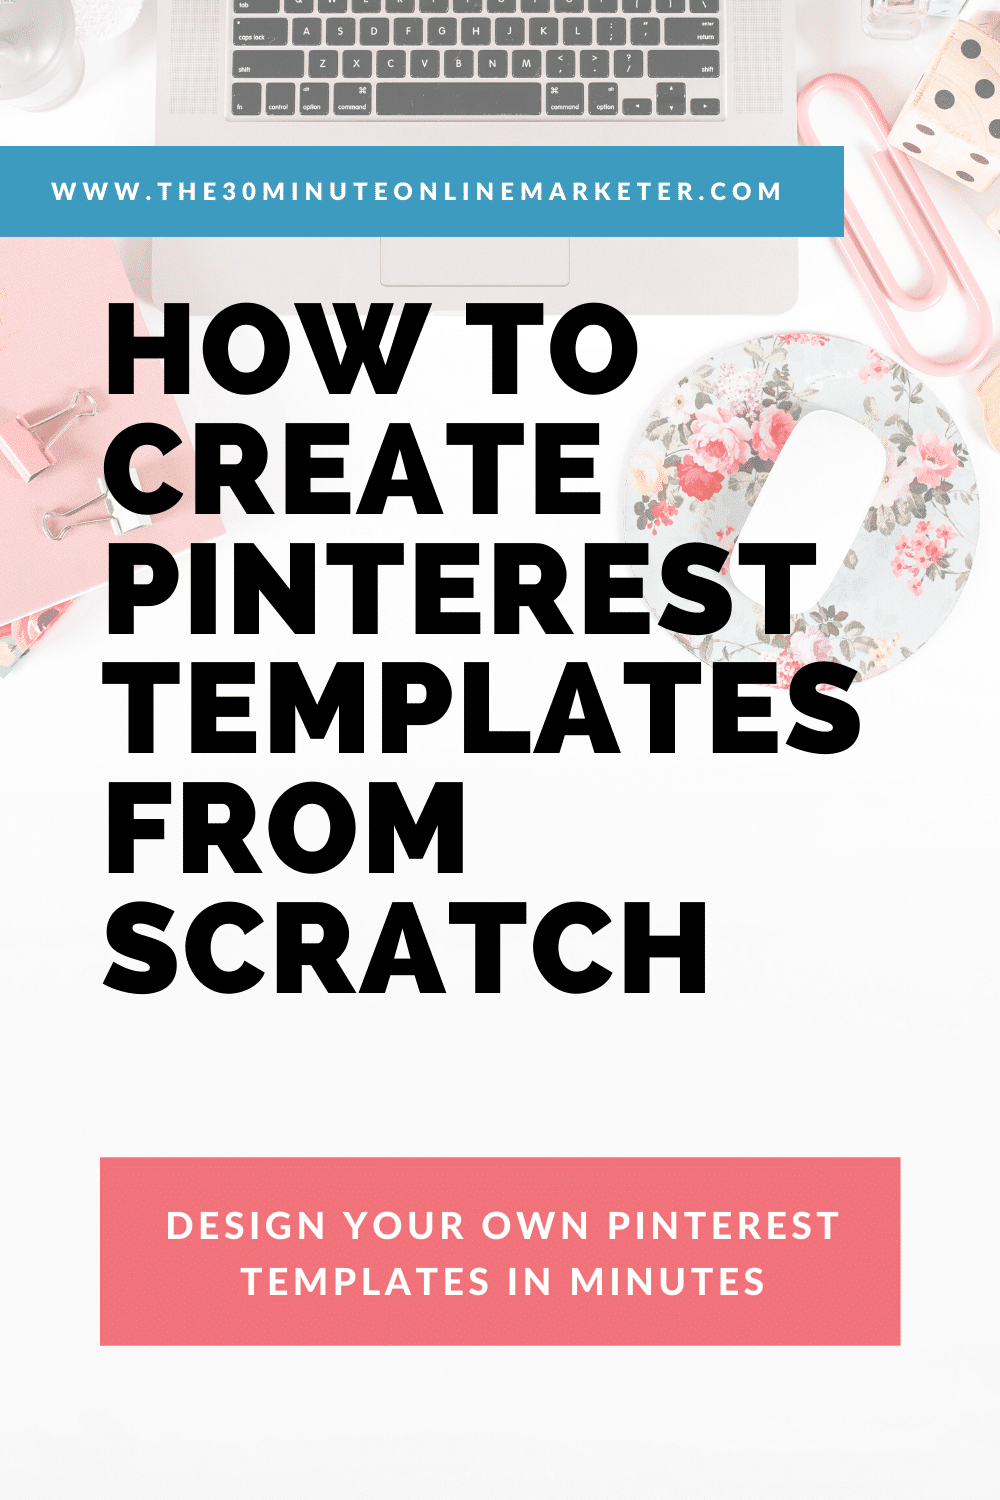
Did you enjoy this post?
Would you mind sharing it on Pinterest so it can reach more people?
Thank you!


